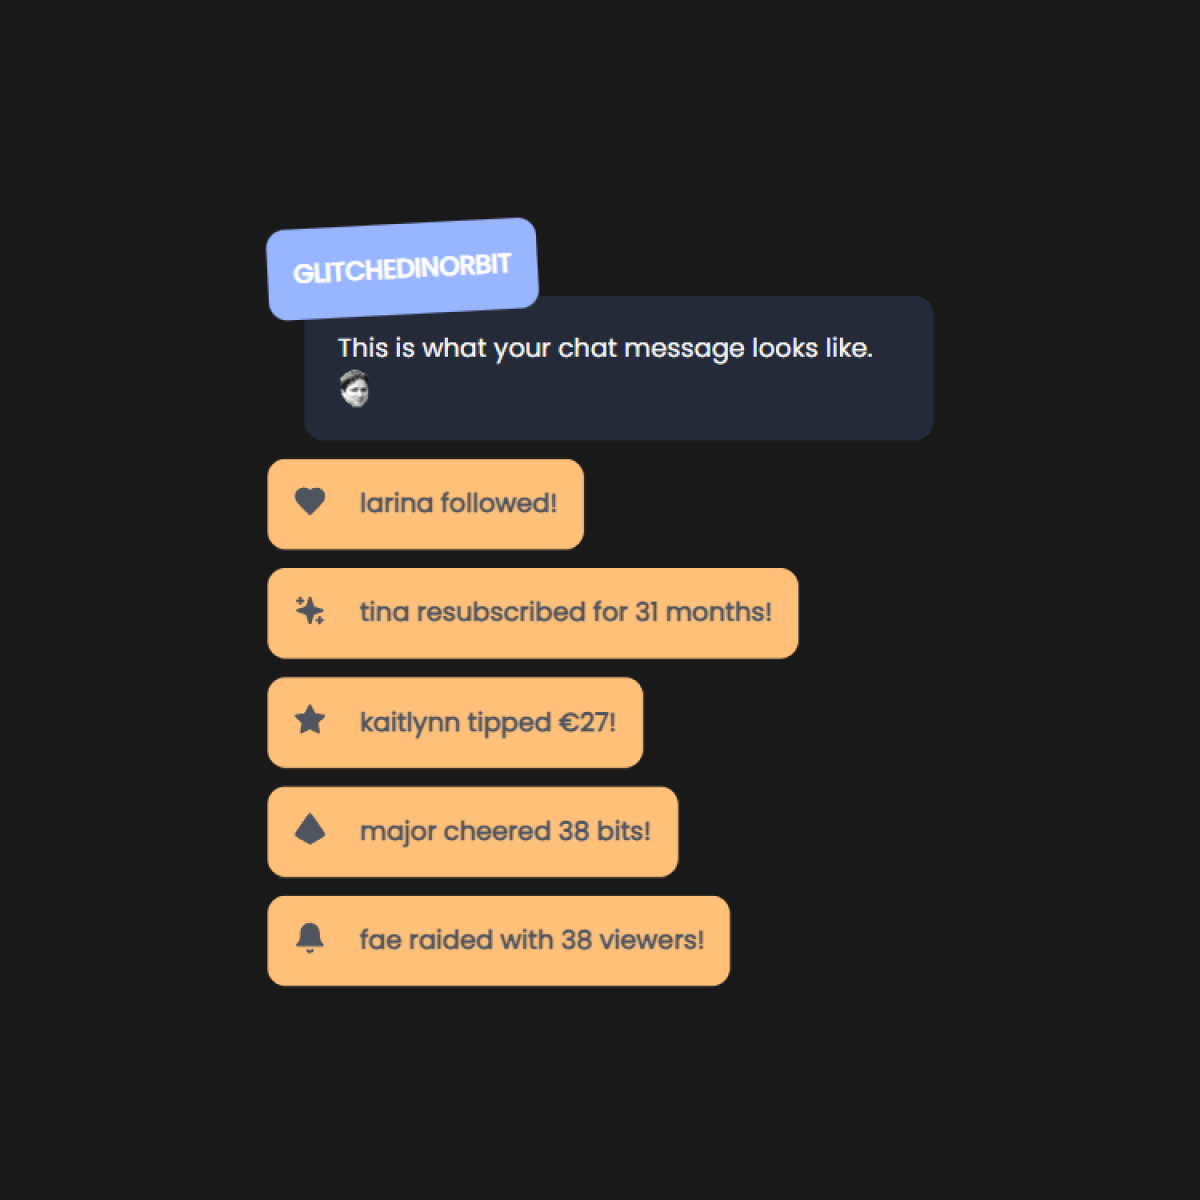
Want to make your Twitch stream more accessible or are you having a hard time navigating Twitch? This article lists helpful ways to improve accessibility and user experience on the site.
Jump to section:
- Introduction
- Change Font Size
- Change Font Style
- Configure Chat Box Width
- Enable Readable Chat Colors
- Filter Visual Elements
- Use Chat Pronouns
- Enable Closed Captions
- Check Your Color Contrast
- Optimize Your Panel Text
- Disable Autoplay
- Configure Your Ads
- Include Channel Tags
- Bonus: Use Multi-Actions
- To Wrap Up
Introduction
Accessibility is there to make sure every person has access to an equivalent user experience on any given site. It allows users of all abilities to enjoy a platform. Embedded within accessibility is a certain level of empathy for users who can’t or don’t use websites in a similar way as the majority of users.
The benefit is better design for all.
On Twitch, it’s possible to change some basic accessibility options. But browser extensions can enhance the overall browsing experience.
The same goes for plugins and software for streamers. To make both their experience and the experience of their viewers nicer as well.
Change Font Size
The default font size on Twitch is 13px. I’ve opted for 14px myself, and that’s on a 1440p monitor. My eyes get tired very quickly while reading chat and small fonts, and I can get strains and headaches if I have to squint for too long.
Go to the settings in Twitch chat and click on Chat Appearance to change the font size.
Alternatively, change font size in BetterTTV or FrankerfaceZ.
Change Font Style
The default font family on Twitch is Inter. But it’s possible to change font styles if you don’t like the native font or if you have a hard time reading it.
Open the FrankerfaceZ settings, scroll down to Chat and click on Appearance. In Font Family, select your preferred font style.
For example, select Open Sans or Nunito Sans for a nice reading experience. Or opt for OpenDyslexic as a dyslexia-friendly choice. Or change it to Custom and enter google:IBM Plex Mono for that sweet coding look.
Configure Chat Box Width
Use FrankerFaceZ to set the width of the chat box on desktop. You can find this under Chat, Appearance, and then Width.
The default size seems to be ~340px (on 1440p). I set mine to 400px. Together with the font size increase, it has lessened the reading strain on my eyes.
Enable Readable Chat Colors
Readable Colors helps you read colored usernames in chat more easily. In the Chat Settings, go to Chat Appearance and toggle on Readable Colors.
I have this turned on because I can’t read the standard dark blue color in Twitch chat. One eye sees the color slightly lighter than the other so I see those letters double.
Filter Visual Elements
It can get tedious when screen readers have to read out all visual elements like emotes and badges. Luckily you can disable these elements.
For emotes, scroll down to Chat and click on Emotes. Then, scroll until you see Display Emotes, and switch this from Enabled to Disabled.
For badges, open the FrankerfaceZ settings, scroll down to Chat and click on Badges. Under Visibility, untick the badge categories that you want to disable.
Use Chat Pronouns
Configure your (preferred) pronouns using Twitch Chat Pronouns in the FrankerfaceZ settings. Click on Add-Ons, scroll down to Pronouns, and enable the add-on. To set your pronouns, go to the Pronouns website.
If other people have their pronouns set up, you can see those as well! I use She/They, and I always get very excited when I see others’ pronouns in channels.
It makes life so much easier and more inclusive. Plus, it adds an extra personality element to the chat.
Enable Closed Captions
Closed captions make streams easier to follow for people with any hearing issues. And for those who need/want to watch the stream muted.
There are multiple Extensions on Twitch that allow for closed captioning. These include Stream Closed Captioner and Closed Captions for Streams.
The downside of these extensions is that they show as either an Overlay or Component. An Overlay Extension displays on top of the whole video as a transparent overlay. A Component Extension displays as part of the video, taking up part of the screen. Viewers can hide Component Extensions, while they can’t hide Overlays.1
Instead, consider using the Cloud Closed Captioning plugin for OBS. This is my personal favorite. Viewers can turn the captions on or off in the stream video player itself. Font, size, and color can be fully customized by the viewer. It allows the viewer more control over captions, which is why I like this plugin.
If you want to display closed captions natively on stream (so as an overlay within your broadcasting software), consider using Pixel Chat or Web Captioner.
Speech recognition software is not always as sophisticated as it could be. Nonetheless, captions are a good tool to make streams more accessible.
Check Your Color Contrast
It’s important to have the correct color contrast to make sure users can read everything. This is relevant for your stream overlays and description panels.
The contrast ratio for text against a background should be at least 4.5:1.2 You can check contrast using WebAIM’s Contrast Checker or Coolors’ Contrast Checker.
If you want to set a minimum contrast for chat, you can. In the FrankerfaceZ settings, click on Chat, then go to Appearance, and scroll down to Colors. Under Minimum Contrast, set your desired value. The default value is 4.5.
Optimize Your Panel Text
For the text in the Twitch panels/description box to be accessible, you want to use native Markdown.
You may have seen some channels having text within an image panel. But this practice restricts accessibility. Screen readers won’t be able to read that text, because it’s embedded in media.
I wish Twitch would allow alt text on panels because then you could display embedded text that’s still accessible.
A way to go around this is to add a link under every embedded media panel with the alt text in a Google Doc file.
As a best practice, keep the text as is and add links within regular sentences to keep the context. Do not use link text like ‘Click Here’ and ‘Read More’, because they can be confusing when screen readers read them without context.3
Disable Autoplay
I get very annoyed when videos autoplay without my consent. Fortunately, it’s possible to disable autoplay for streams.
In the FrankerfaceZ settings, scroll down to Player and click on General. Under Playback, tick the box that says “Do not automatically start playing videos or streams”.
Additionally, you can opt to disable auto-play of the next recommended video after a video finishes.
If you want to take it a step further and disable autoplay on the front page of Twitch, untick the box “Auto-play featured broadcasters on the front page”.
Configure Your Ads
Admit it. We all hate ads. They’re a necessary evil in the marketing world we live in.
This doesn’t mean that we can’t make them work in our favor.
For streamers
As a streamer, DISABLE pre-rolls! For the love of everything that is still good in this world. Please.
You might prefer to run ads when you have your regular breaks.
But if you’re like me, and your neurodivergent brain forgets to take any breaks in 4-hour (or longer) streams, consider using automated ads.
There’s nothing wrong with using the ad scheduler. As long as your viewers know when they can expect ads. Communicate. They’ll understand.
For the best user experience, experiment with 90 seconds of ads per 30 minutes, or 3 minutes of ads per hour.
Do not front-load or back-load all your ads. Front-loading, also known as pre-rolls, has a 30% (!) bounce rate.
This means that an average of 1 in 3 people will leave before they even watch your stream. Especially if they’re seeing your content for the first time.
Or if a raid happens, and everyone coming in gets hit with ads first.
They won’t come back. Trust me.
I’ve made this mistake so you don’t have to.
Of course, you don’t have to take my word for it. Think about what your stance is on ads. Do you hate them? Do you like them?
Go into Twitch and browse for live streamers. Simply go into their channel and see if you get pre-rolls. Experience for yourself what a first-time viewer would be experiencing. This is what I did, and it made me change the ad break experience for my viewers immediately.
For viewers
As a viewer, you have a few options.
Subscribe to your favorite creators to support them and not get ads on their channels. (That’s if they’re nice and have ads disabled for subscribers.)
It’s also possible to get Twitch Turbo to disable ads site-wide, while still supporting the creators you watch. You’ll still count as a viewer for the ad impression, even when you won’t see the ad yourself.4
If you can’t or don’t want to spend any money (no judgment here), download TTV.LOLor Twitch Adblock to disable ads on Twitch.
Include Channel Tags
Channel tags are there to indicate what your stream is about or what viewers can expect. Current accessibility tags include Color Blind, Closed Captions, Dyslexia, and Neurodivergent, among others.
Find what you need within all available stream tags, or set custom warning tags such as ‘Motion Sickness’ and ‘Epilepsy’ in the Stream Manager.
Bonus: Use Multi-Actions
This tip requires you to have an Elgato Stream Deck. It supports something called ‘multi-actions’. With one press of a button, you can set up your entire streaming setup or content creation workflow.
For example, I use multi-actions for stream. If I want to have everything I need, I press one button. It opens OBS, my game launcher, Lofi Girl on YouTube, and my Twitch Dashboard. It also moves all open programs to a specific location.
Then, when I’m ready to go live, the multi-action starts the stream, sends out a tweet, and changes my Twitter handle.
If you’re able to invest in a Stream Deck, it will make your workflow and life so much easier! If you don’t mind getting free software instead of dropping cash on a Stream Deck, you can download streamer.bot or Touch Portal.
To Wrap Up
There you have it. Quite a few ways to improve accessibility and user experience on Twitch. I hope these tips helped you.
As always, find what works best for you.
Let me know if I’m missing any accessibility or user experience improvements.
Thanks for reading!
Digital Products
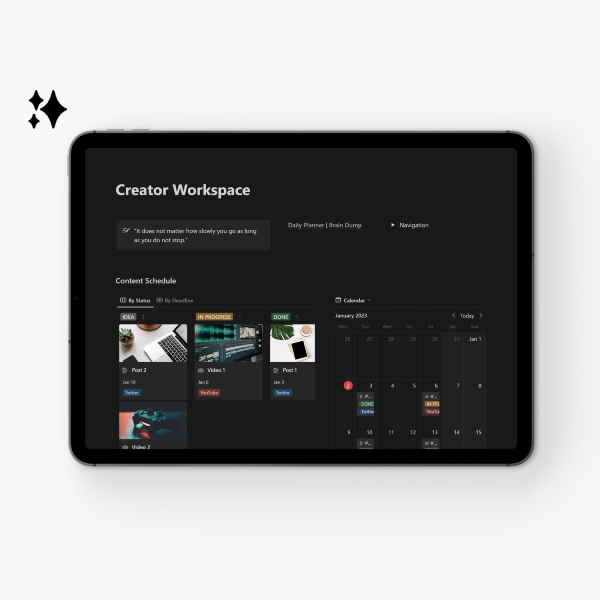
Plan your content effectively with my Notion Creator Dashboard
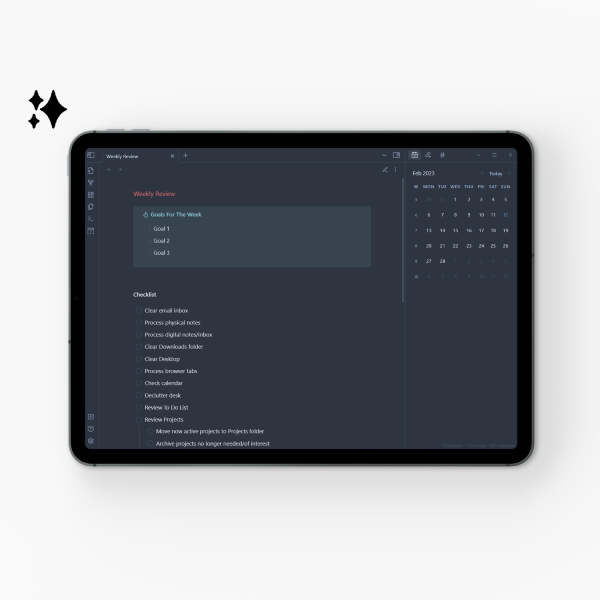
Track your progress with my Obsidian Weekly Review Template
Affiliate Links
• Get 10% off on Momentum Plus with code "glitchedinorbit"
I receive a small commission if you purchase via these links.
Recommended Posts

Use The PayPal Buffer System To Protect Your Creator Income
A neurodivergent-friendly guide to keeping your creator and streaming income safe and stress-free.
Continue Reading
Financial Sustainability Tips For Neurodivergent Streamers (Without Burnout)
Content pacing, energy-based planning, and income strategies for disabled and neurodivergent streamers.
Continue Reading
Rethinking Productivity Advice For Neurodivergent Creators
A neurodivergent-friendly approach to productivity for creators and freelancers, with practical strategies like flexible goals, guilt-free breaks, and self-compassion.
Continue ReadingRecommended Items